Your Source for DIY Pedal PCBs and NostalgiTone! › GuitarPCB Forum › Show Off Your Build › Muff Fuzz Civil War
- This topic has 6 replies, 6 voices, and was last updated 7 years, 1 month ago by
 Anonymous.
-
AuthorPosts
-
May 12, 2019 at 2:10 pm #5680AnonymousInactive
All:
A big heartfelt thanks to all the members on this site.
When I started this project I had zero electronics skills. I though building a pedal would be a fun project, but was unsure if I had the skills to succeed. After watching Barry’s soldering tutorial, I felt I had a 50/50 chance of not screwing it up completely, so I spent a few days reading all the fine instructions and acquiring parts and pieces. And here it is, the Muff’n Fuzz Civil War variant.
I added the Clipping mod and Muffbender mod, since they seemed pretty simple. The transistors are 2N5088 with the 33K resistor in the R25 slot. I used the 1N4148 diodes. All other parts are the exact same as seen on the Muff’n Fuzz build document.
Graphics were made using GIMP software to edit clip art found on the Internet. My lack of electronic skills are rivaled only by my lack of graphic design skills, but I think it turned out pretty well. I used a inkjet printer to print on a water slide decal.
Once all was said and done, I closed up the case, said a little prayer, and plugged it in. Everything worked just like it was supposed to. It sounds awesome.
Again, a huge thanks to all those who shared knowledge and expertise on this forum. I really had a blast making this and learning about pedal builds. Somehow I don’t think this one will be my last.
May 12, 2019 at 3:24 pm #5681BillyModeratorOofft that’s an absolute beauty
Looks great inside and out, you’re a natural
Really good build well done to you and a great example of what can be achieved with a little help from the guides a lot of folks don’t read them or watch the videos and quite often end up with errors mostly outlined in them
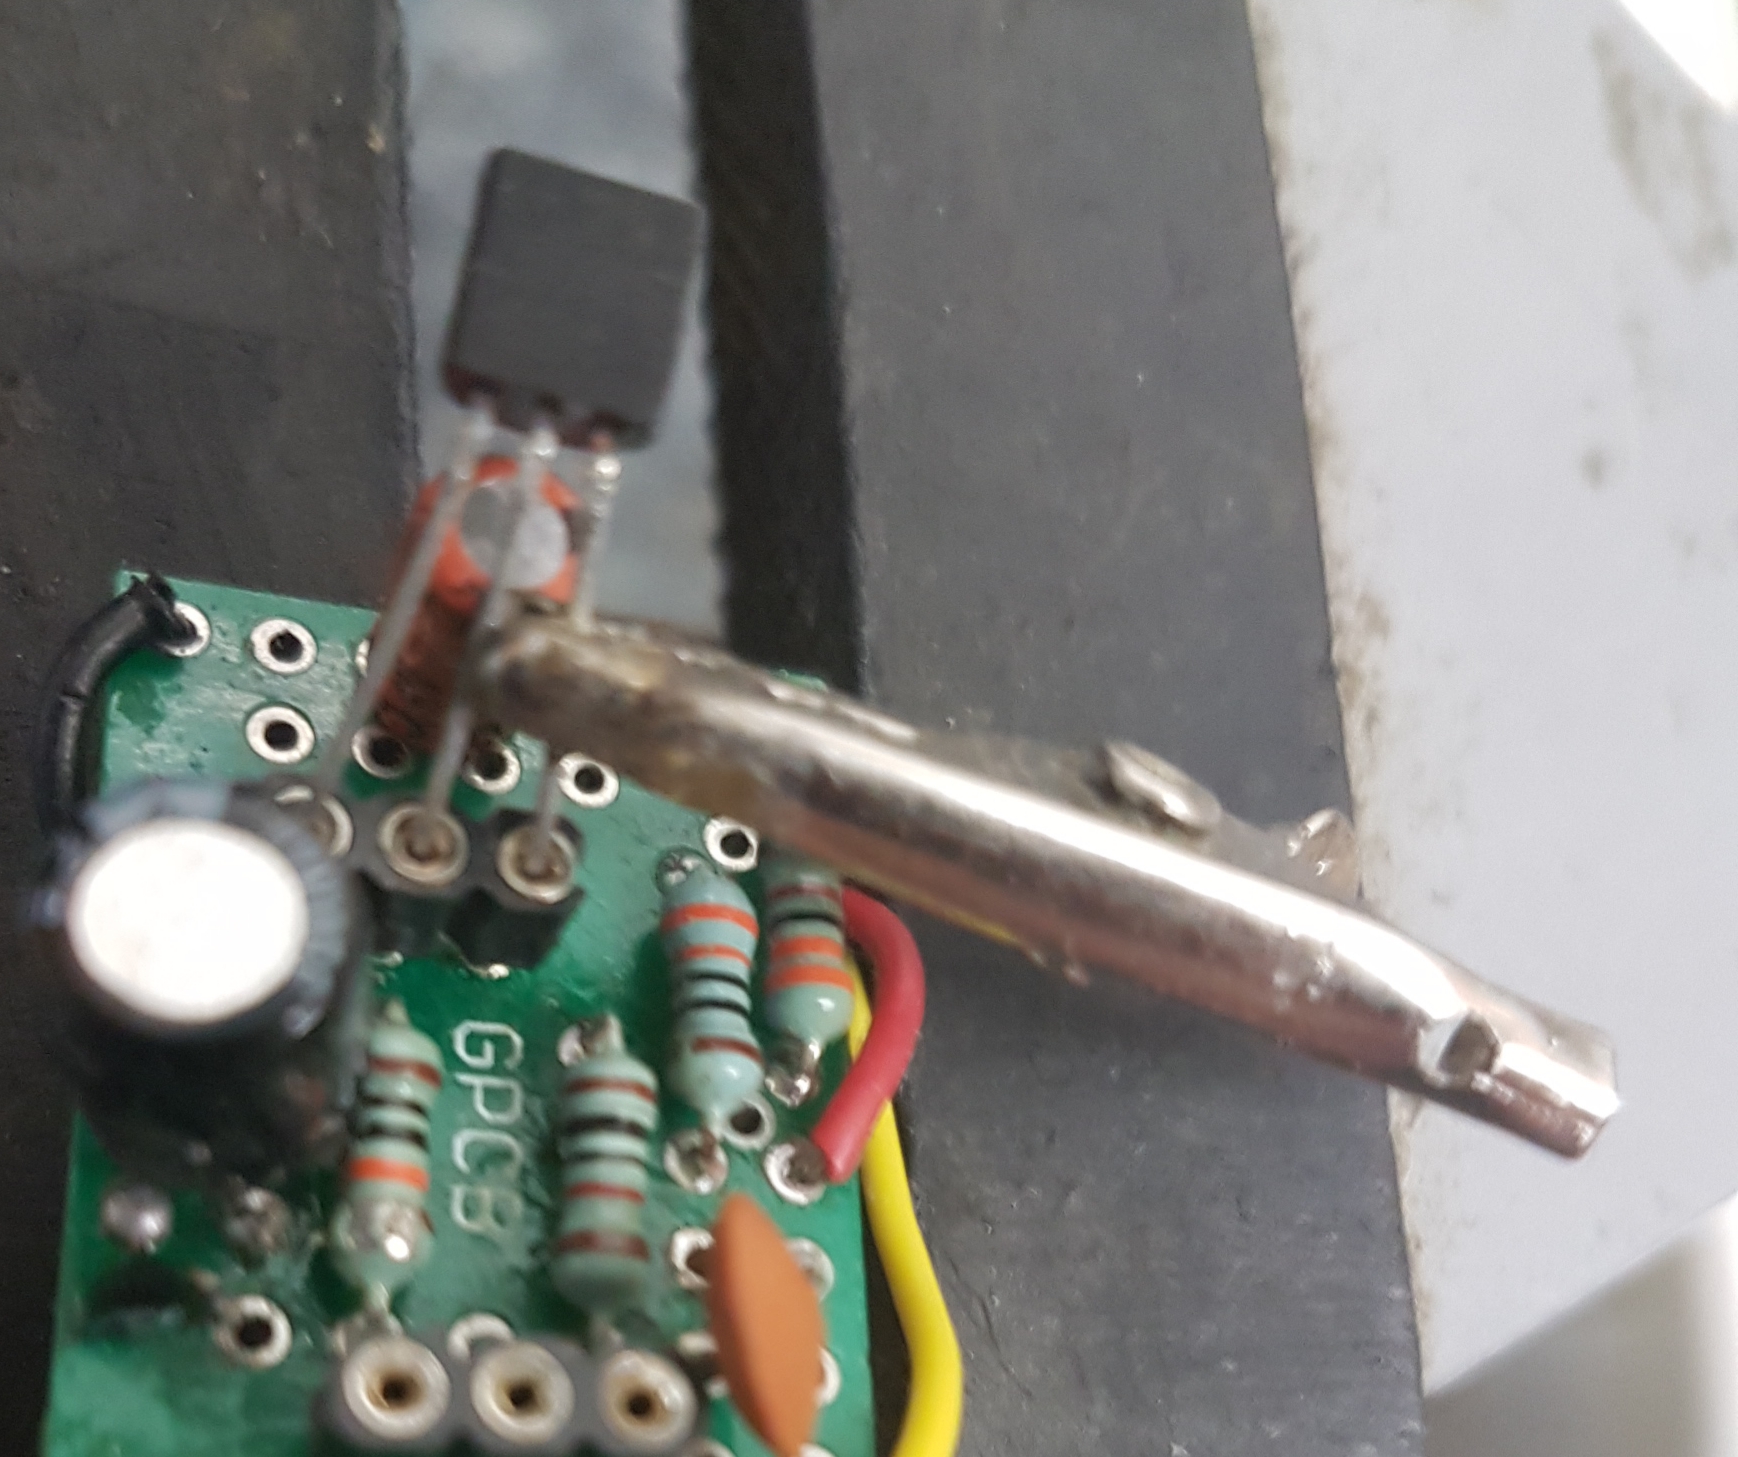
A little tip if you’re keeping the diodes and transistors you’ve selected use a small crocodile/ alligator clip as a heatsink and solder one leg into the sockets so there’s no chance of anything coming loose and falling out
May 12, 2019 at 4:22 pm #5682AnonymousGuestAbsolutely first class! You have done an amazing job for a first build. Billy is right. By reading up on all the information available in the GUIDES, you avoided many of the common errors we hear about. I hope this inspires you to continue with other builds. Let us know what is next.
May 13, 2019 at 3:29 pm #5688BarryKeymasterBeautiful and thank you for sharing.
I am glad you took the time to read the Guides Page.
That eliminates a ton of common errors as you have proven.
May 13, 2019 at 9:41 pm #5693CybercowParticipantMilitaryMD – I agree with what the others have already said. Stellar first project! You even got the battery in there. Excellent! The first time I saw Barry’s build documents, I knew he’d done it right for ANYONE willing to take the time and read. You are indeed proof of that. Nice circuit porn too!
May 14, 2019 at 1:29 am #5694AnonymousInactiveGreat work! Looking forward to seeing more from you!
May 15, 2019 at 9:54 am #5719AnonymousInactiveThanks for all the kind words, as well as the heat sink recommendation. I was worried about too much heat ruining my transistors, so I left that alone until I was sure the pedal would work. I’ll be certain to solder those in now.
The mods here have been great. Believe me, I was lost plenty of times during the build- thankfully the mistakes I made had already been patiently answered by one of you on this forum
One suggestion I have regarding newbie mistakes is a video on how to use desoldering braid. There was a few times I had to remove components, like when I put the LED sockets on the wrong side of the board or when I accidentally soldered my pots incorrectly. The parts were easy enough to remove but the residual solder made it tough to thread wires back in to the slots. A video on how to remove solder with a wick would be a nice addition to Barry’s soldering tutorial and may be helpful to other newbies.
-
AuthorPosts


- You must be logged in to reply to this topic.